The smartphone has eliminated the need to get a proper camera for a lot of us. As a matter of fact, our smartphones have considerably streamlined the number of gadgets we carry around. These days, it’s no longer necessary to have a calculator or a dedicated music player since the smartphone has it all.
Mobile photography has gone from being a hobby to a profession. Ever heard the term iPhoneographer?
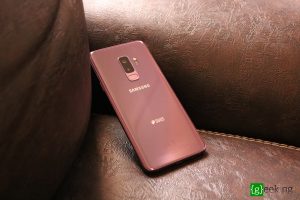
A smartphone is no DSLR
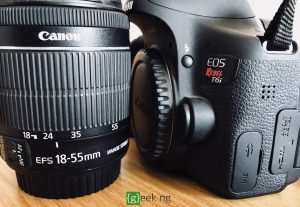
Samsung, Apple, Huawei and several OEMs put great cameras on their smartphones, but these are still no match for proper DSLR cameras. The size of the tiny camera on smartphones offer no adjustable controls.
With a proper camera, you can change the aperture, focal length and focus, which all affect how the image comes out. These settings affect the sharpness of the image and the depth of field. Achieving the Bokeh effect on a DSLR camera is easy if you know your way around the settings but on a mobile phone, the story isn’t the same.
A blurred background makes your image look good and it puts what matters in focus. You should know that 3 factors affect the depth of field in photography apart from proper focusing:
- Distance between the lens and object
- Opening of the lens that lets light in (Aperture)
- Focal length of the lens
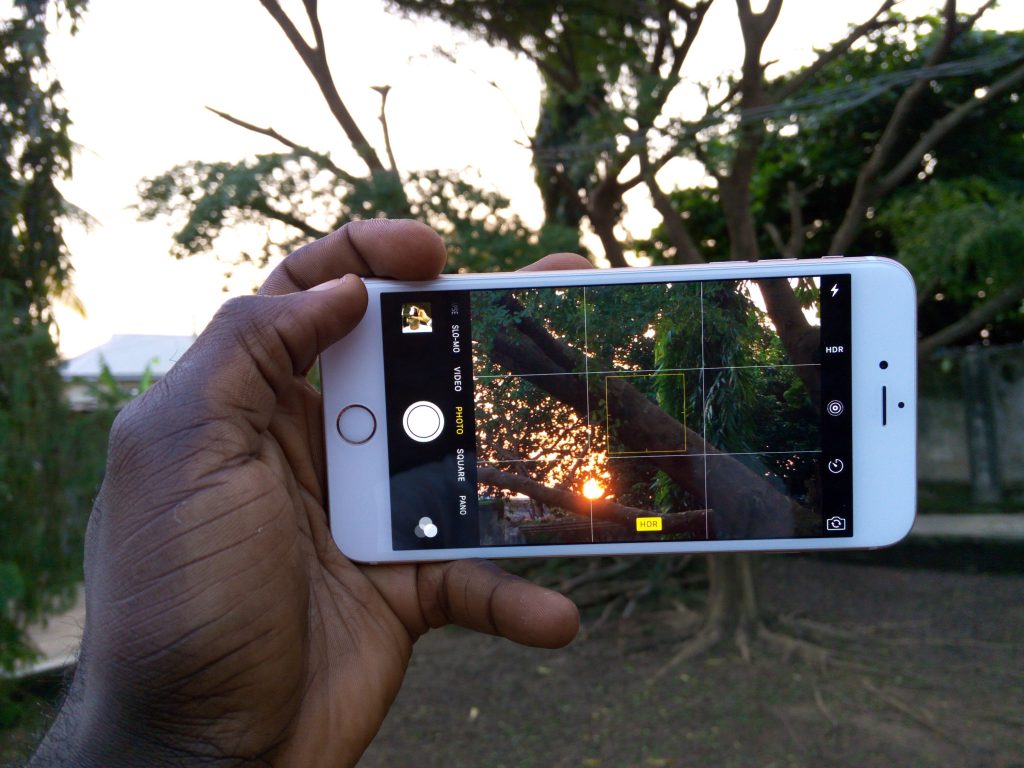
Unfortunately, you only have control over the first factor, the distance between the camera and the object on most devices. Some smartphones with dual-camera setup let you tweak the second factor (aperture) through software. The third is impossible on a mobile phone unless you get lens accessories. Here are 4 tips to achieve that blurred background in mobile photography.
1. A dual-camera setup does the trick
If you’ve always wanted to do this the easy way, you should consider changing your device to a smartphone with two lens at the back like HTC One M8 or Huawei Honor 6 Plus. Newer devices like LG G5 and Huawei P9 also have this type of hardware.
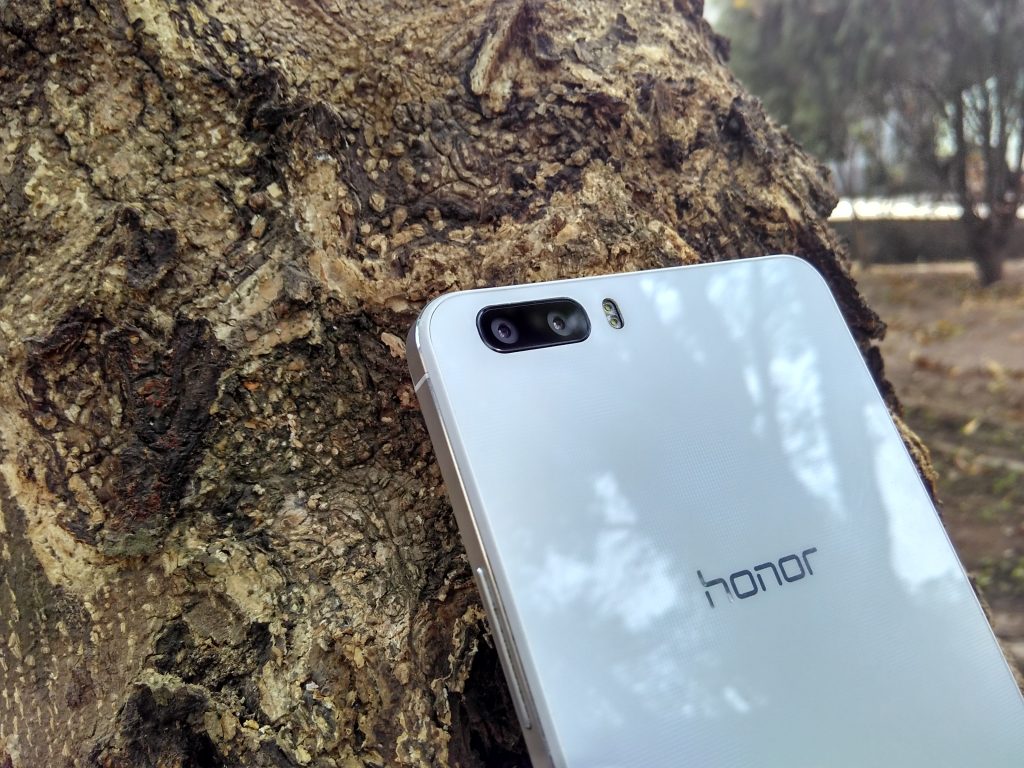
No smartphone has a truly adjustable aperture through the hardware. This is usually fixed, along with the focal length.
2. Using the simple manual focus trick
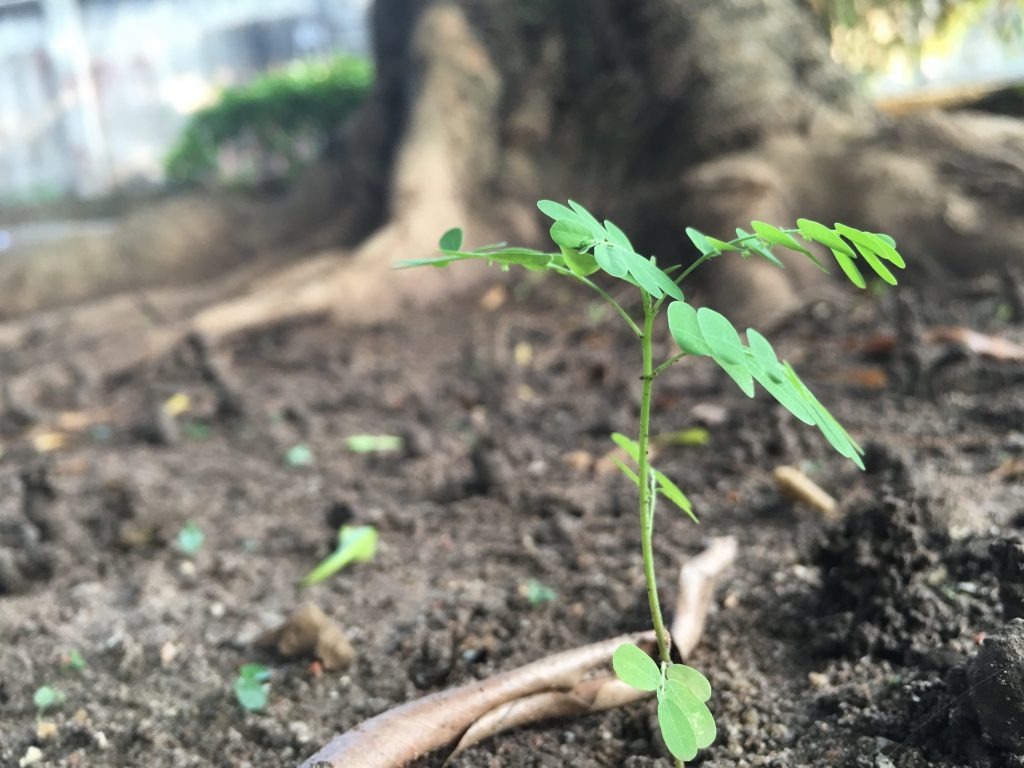
Theoretically, this should work with most modern mid-range smartphones. While this may not work for portraits, it works pretty well for small close-up photos of small objects.
3. Getting lens accessories
If you’re into macro photography, getting lens accessories for your device may be the way to go. These lenses may totally change the way you view mobile photography. It should be noted that these lenses are not of the same quality.
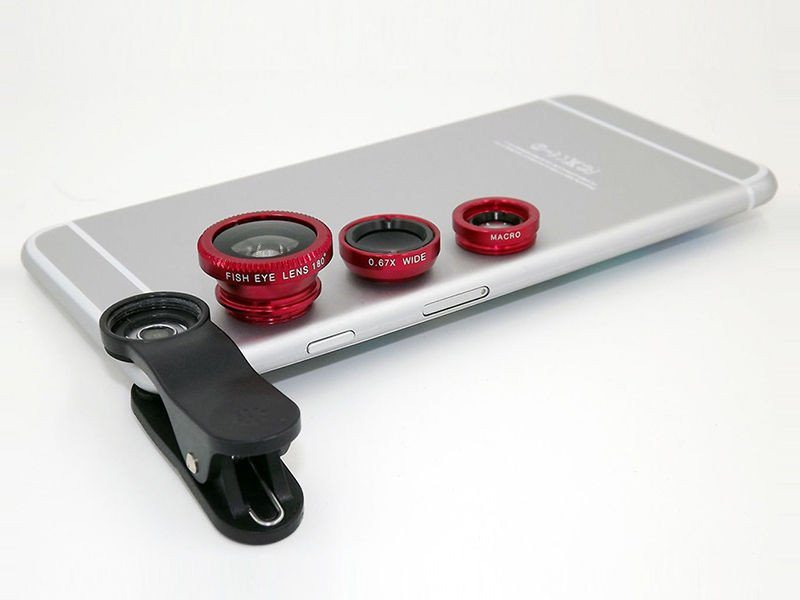
They can be as cheap as $20 or as expensive as $100. What you pay for may determine the picture quality you get. Some of these are universal and can work with any smartphone. Others are made specifically for particular models of smartphones. You can take a look at Jumia store to check some out.
4. Faking it with apps
This is my least favorite method. Even as an amateur mobile photographer, I tend not to make my images go through apps or heavy editing. If you’re keen on this however, there are loads of apps available in the Play Store and App Store. A popular one for Android and iOS is Big lens.


Comments
7 responses to “Mobile Photography: Getting A Background Blur / Shallow Depth Of Field”