Earlier this year, HTC announced there won’t be a Kitkat update for HTC One X. It appears Android 4.2.2 Jellybean is the last update HTC One X will be seeing officially but if you’re not satisfied with this, you have the option to install an unofficial version of ANdroid 4.4 Kitkat using Cyanogenmod custom ROM as explained in this tutorial.
Please note that I performed this on an HTC One X (Int’l version) with stock and unrooted Android 4.2.2. I do not guarantee it would work on any other device or other variants of HTC One X.
Also, this may void your warranty and I won’t be held responsible if you brick your phone in the process. You’re doing this at your own risk, not mine.
Before you go ahead and do this, there are certain requirements that must be met:
1. Your battery should be charged to at least 80%.
2. Back up your contacts and messages. I used Moborobo to do this.
3. Be sure you have the original USB cable or, at least, one that works well.
4. Remove SIM locks if you have one.
5. Install HTC drivers by downloading and installing HTC Sync Manager.
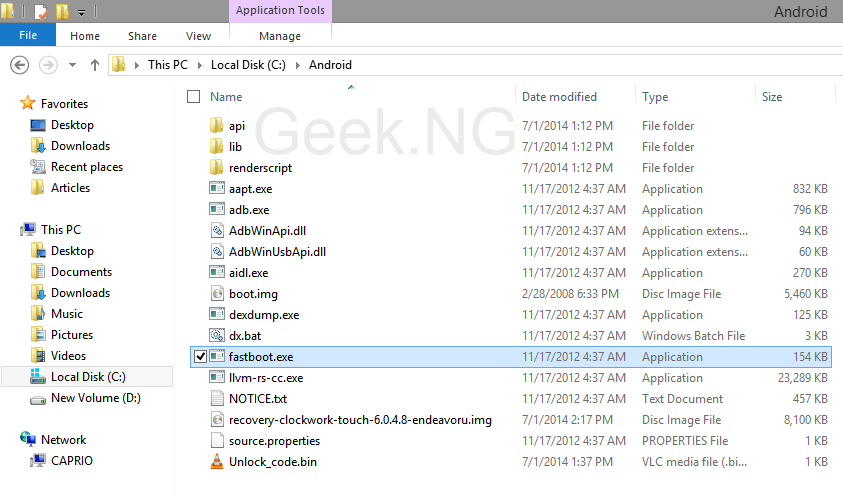
6. Download this .zip file. Extract the “Android” folder in it to the C:\ drive on your PC. You should now have C:\Android\fastboot.exe in this location. Be sure the path is correct.
7. Be sure you know exactly what you’re doing.
There are three major steps to complete this process:
Step A: Unlocking the bootloader
Step B: Installing CWM Recovery
Step C: Installing Android 4.4 Kitkat
Step A: Unlocking the bootloader
1. Go to HTCDev website and register an account. Check your email, activate your account and login.
2. On the main page, select Unlock Bootloader and click Get Started.

3. On the next page, select All other Supported Models and click Get Started.
4. A dialogue comes up, click Yes to accept and continue. Read and accept the legal terms by checking both boxes and click Proceed to Unlock Instructions.
5. Disconnect your phone from your PC and power off the phone completely
6. Enter Bootloader by pressing the Volume Down button and Power button simultaneously for about 10 – 15 seconds.
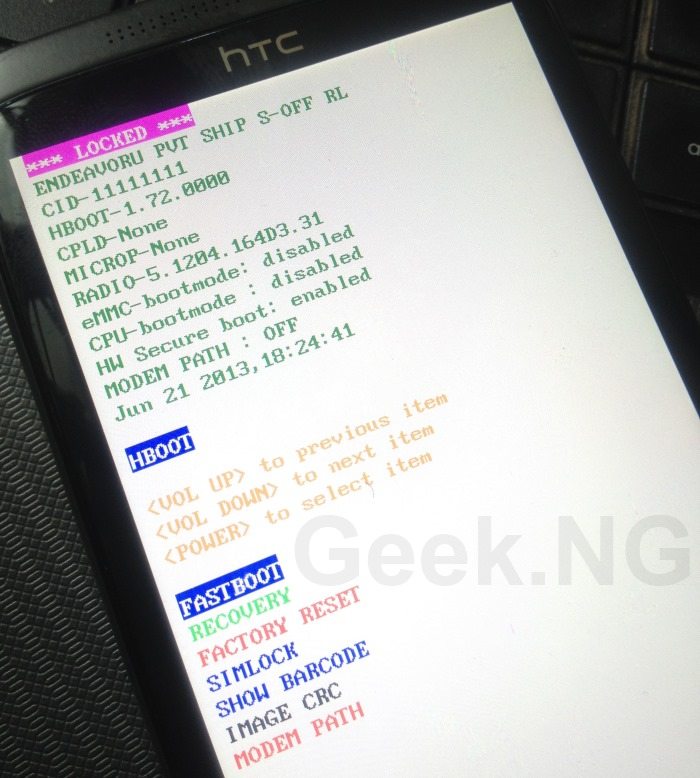
7. Use Volume Up and Volume Down to scroll across the options. Highlight Fastboot and use the Power button to select it.
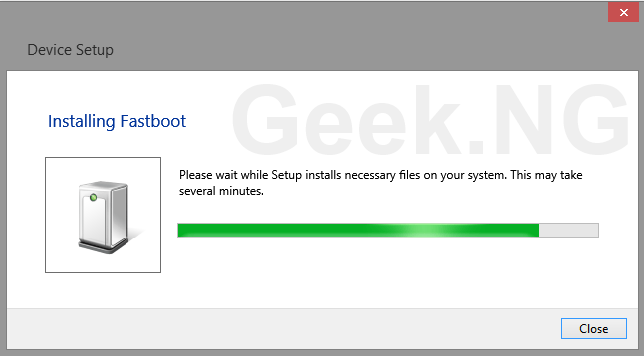
8. Connect your phone to your PC via USB. Windows may install Fastboot at this point.
9. Press the Start button + R on your keyboard to type a Run command. Type cmd and press Enter.

10. Type this or copy & paste:
cd C:\Android
Now type this or copy & paste:
fastboot oem get_identifier_token
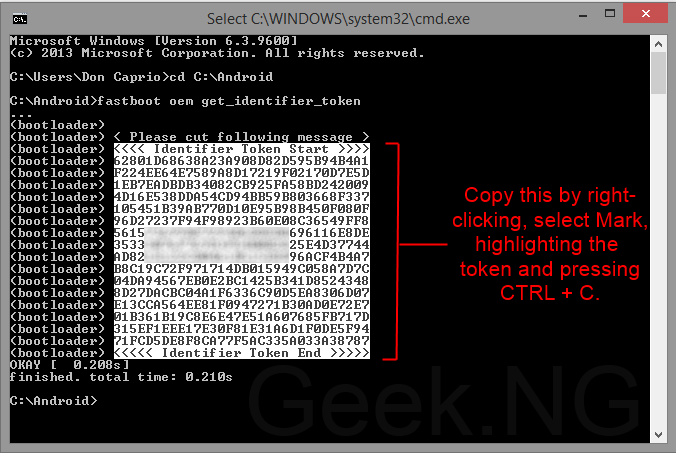
11. This should generate the token. Copy this by right-clicking, selecting Mark, highlighting the token and pressing CTRL + C.
12. Go back to HTCDev website to continue from where you left off and click the “Proceed to Step 5” button.
If you’ve been logged out already, log back in and follow this link.
Scroll down and paste the token in the provided space and submit.
13. You should receive an email immediately containing an attachment named Unlock_code.bin. Download this and copy to the C:\Android, the same folder where you have fastboot.exe.
14. Back to CMD, type this or copy and paste:
fastboot flash unlocktoken Unlock_code.bin
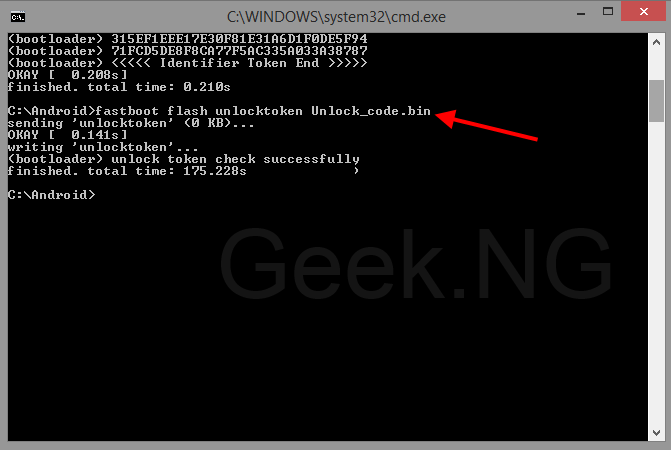
And press enter and after a while, you’re prompted on your phone screen whether to unlock bootloader or not.

Press Volume Up or Volume down to scroll between the options and select Yes by highlighting and pressing the Power button to confirm.
You now have an unlocked bootloader and we can proceed to the next step.
Step B: Installing ClockWorkMod Recovery
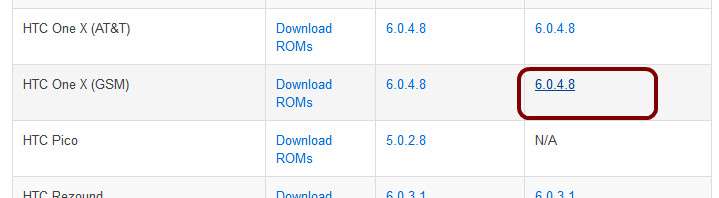
1. Head to the Clockworkmod Rom Manager website find HTC One X (GSM) on the list. Download the touch version which is the last in the column. Copy the .img file to C:\Android where you have fastboot.exe, remember?
2. Download SuperSU Pro and copy the file to the root of your phone storage.
3. Disconnect your phone from your PC and power off the phone completely
4. Enter Bootloader by pressing the Volume Down button and Power button simultaneously for about 10 – 15 seconds.
5. Use Volume Up and Volume Down to scroll across the options. Highlight Fastboot and use the Power button to select it.
6. Connect your phone to your PC via USB.
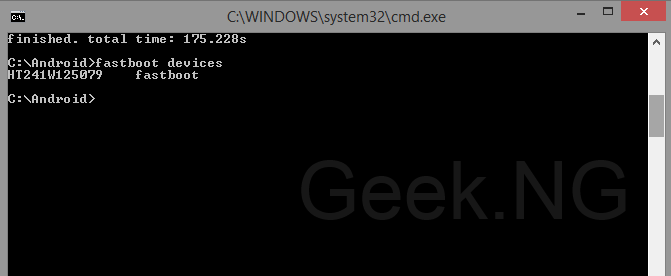
7. On CMD, type this and press enter:
fastboot services
8. Now type this and press Enter:
fastboot flash recovery file_name_of_the_clockworkmod.img
Replace file_name_of_the_clockworkmod.img with the real name of the .img file you downloaded earlier.
9. Again type this and press Enter:
fastboot erase cache
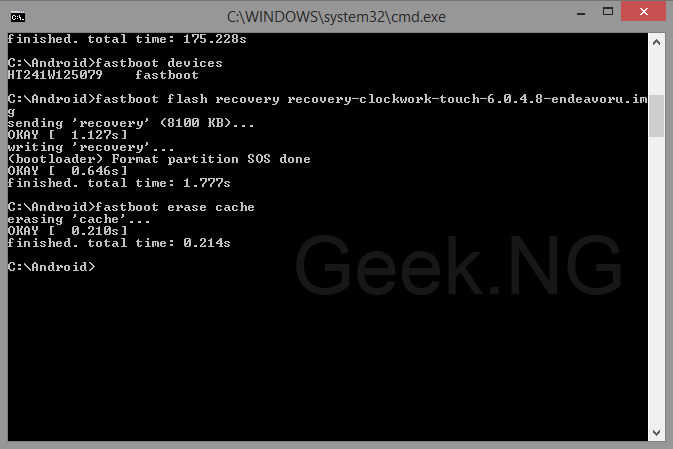
You HTC One X should now have a custom recovery.
Step C: Installing Android 4.4 Kitkat (Cyanogenmod 11)
1. I personally used a Cyanogenmod Nightly build and I recommend it. At this time, there’s no stable CyanogenMod11 for HTC One X but the Nightly build I used worked just fine and I haven’t seen a noticeable bug so far. Download from here. Don’t unzip this file yet.
2. Also download the Google Apps zip file and don’t unzip too.
3. Power on your device and connect via USB to copy both zip files (Cyanogenmod and Google Apps) to the root of your phone storage.
4. Disconnect your phone, power if off and enter bootlader again by holding Power button and Volume down key.
5. In bootloader, choose Recovery (navigate using Volume Up and Volume down keys and select using Power button).
6. Choose Wipe data/factory reset and then select Yes to confirm.
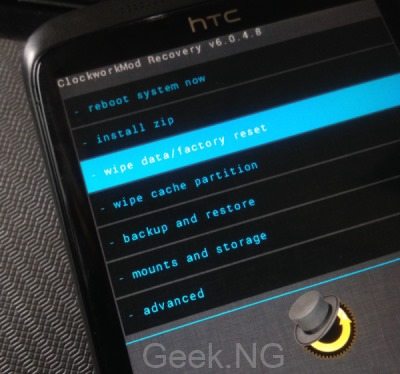
7. Also, select wipe cache partition and confirm by choosing Yes.
8. Select install zip and select the cyanogenmod zip file you copied to the phone storage root earlier, remember? Wait for the installation to finish.
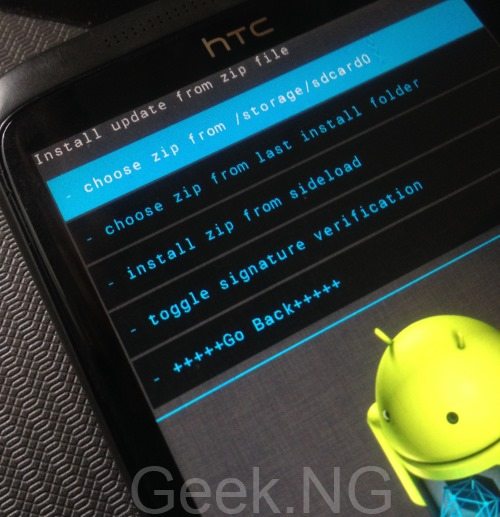
9. Again, select install zip and choose the Google Apps zip file you copied to the phone storage root earlier. Wait for the installation to complete as well.
10. After this has completed, you may turn off your phone. We’re almost there. 🙂
11. Now unzip the Cyanogenmod zip file you downloaded and extract boot.img. Copy boot.img to C:\Android, the same folder you have fastboot.exe. You should be used to this by now.
12. With your phone disconnected, enter bootloader on your device and select Fastboot. Connect via USB.
13. In CMD, type this:
fastboot flash boot boot.img
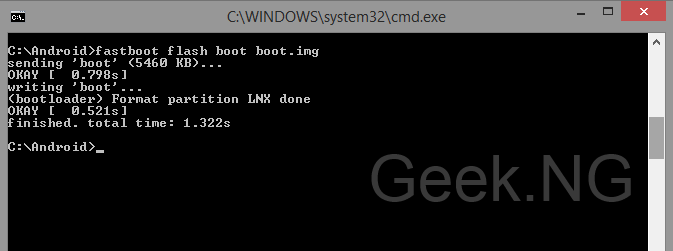 This should complete in a matter of seconds. You can now boot your phone normally and set it up.
Congratulations! You’re now running Android 4.4 Kitkat on your HTC One X.


