Whether you are a programmer, a writer, or a data analyst who works from home, chances are that you spend over eight hours on your computer every day and even work late into the deep of the night every now and then. And with the lights off, the only light source in the room might be your monitor while working. It is an established fact that this isn’t the ideal, as the contrast between the illuminated screen and the dark room may cause eye strain. Even if you have your photochromic glasses on and the display setting is at a warm level, all to reduce blue light, the contrast created with this setup needs to be negated somehow.
This is the reason a lot of people use a desk lamp, but this is the only reason monitor screen bars exist, and the just-released BenQ LaptopBar is one of the few specifically designed for laptops. I started using this product just recently, but long enough to form an opinion about its effectiveness and usability.
First impressions, design, and build quality
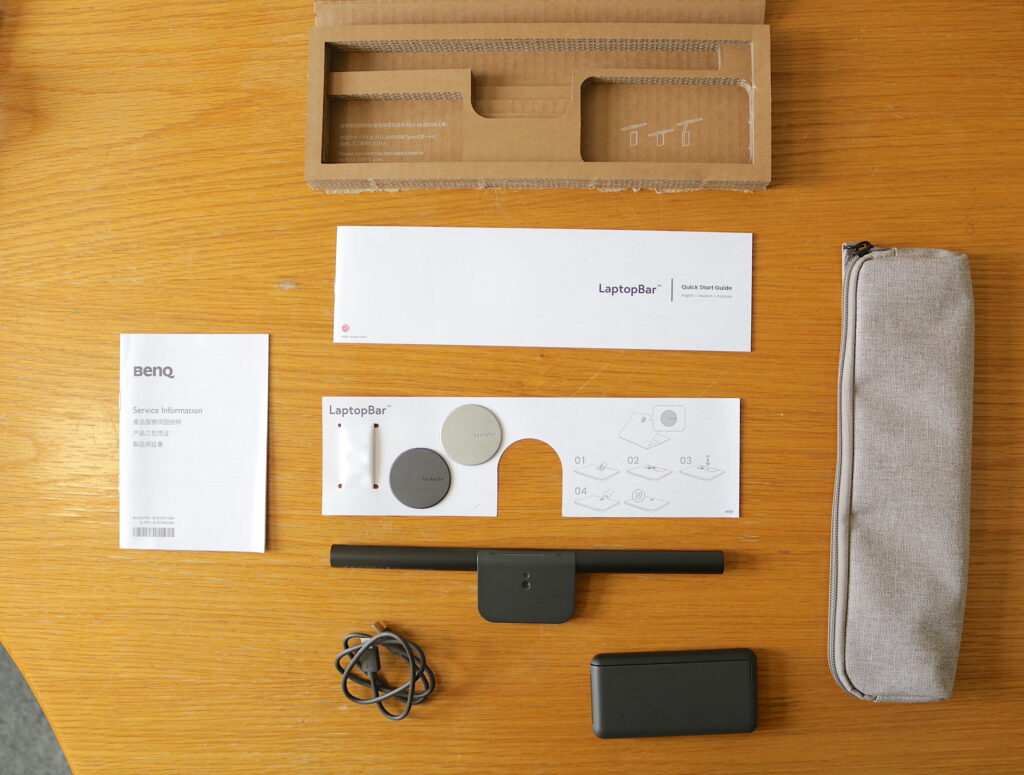
BenQ LaptopBar comes in a very minimalist packaging that does not do justice to the product within, but this isn’t an issue. As a matter of fact, it’s all 100% recyclable paper products. Opening the package reveals the detached lamp head and lamp body, along with a USB type-C to type-C cable, a carry pouch, two magnet patches for attachment, a cleaning cloth, an instruction card for patch attachment, and a quick start guide.
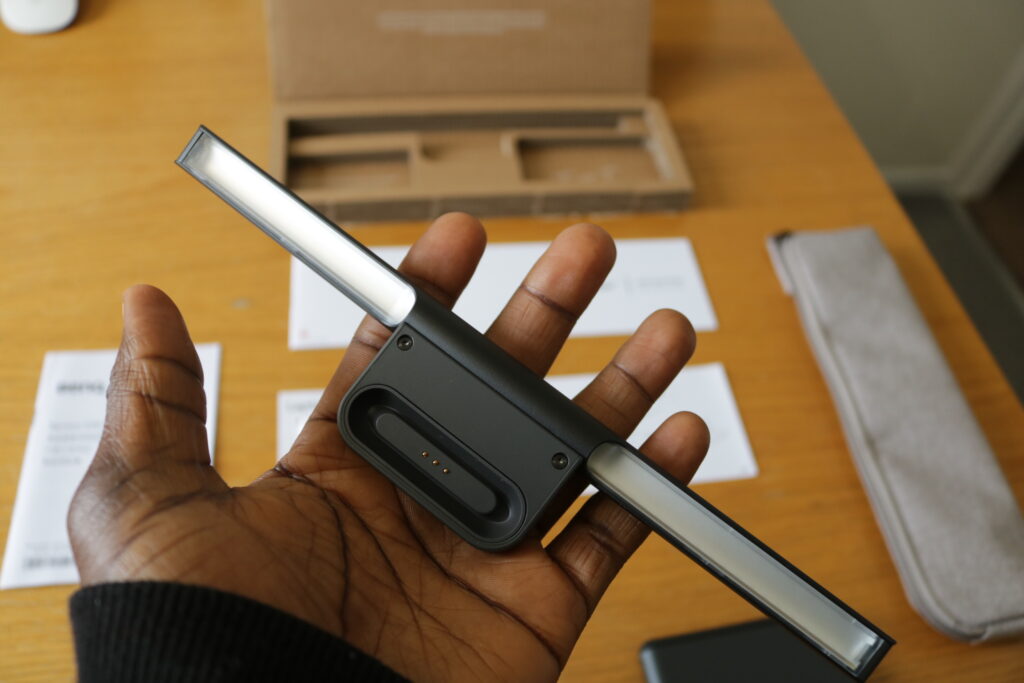
As far as build goes, BenQ LaptopBar comes with a premium price tag, and the build quality reflects this in a positive way. Made from Aluminium alloy and polycarbonate, it’s quite sturdy; even the moving part has a solid build to comfortably sustain the weight of the lamp head. For an accessory that stays attached to the laptop, it is only right for the product to be as light as possible. The LaptopBar weighs only about 180g, which is lighter than most smartphones. This ensures it doesn’t put too much load on the laptop hinges.
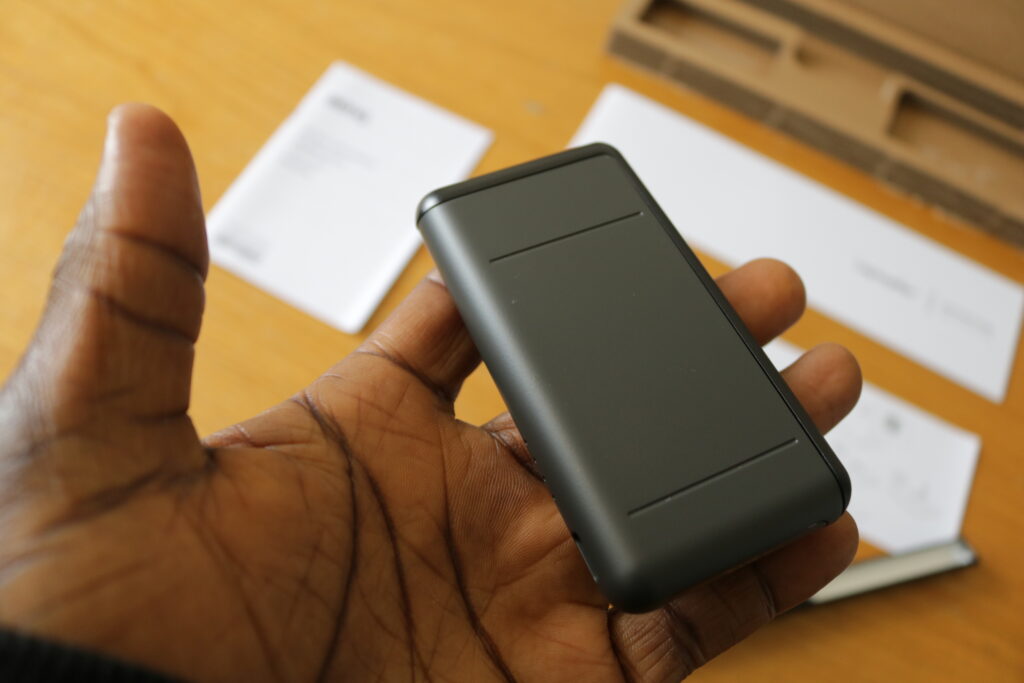
Unlike similar products designed for laptops with clips, the LaptopBar has no single clip in the design and relies solely on magnetic attachment. I was skeptical at first and wondered if this solution would be any good. I was wrong, though. The accessory stays attached even when moving the laptop around.
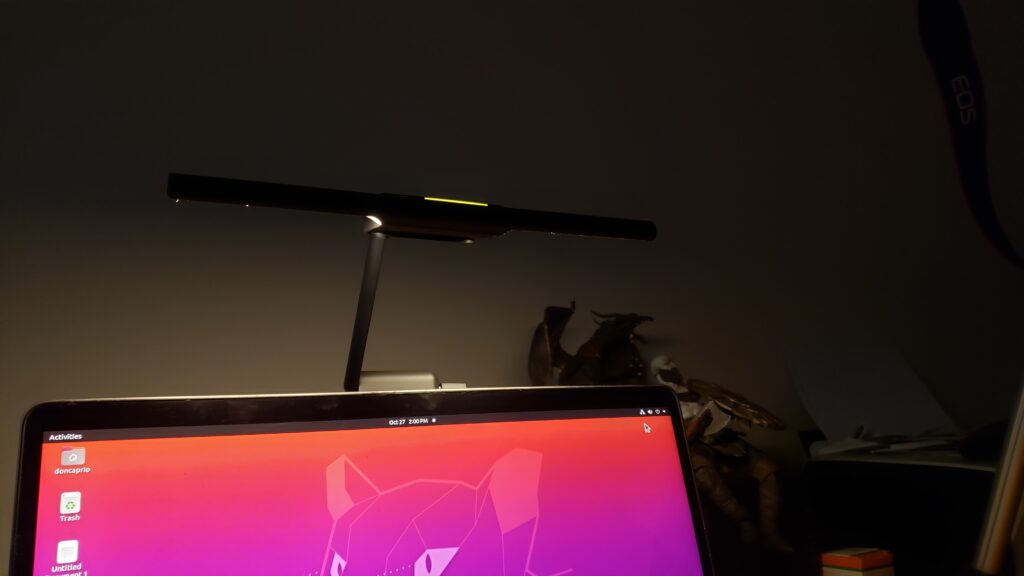
Unlike its predecessor, the ScreenBar Lite, there are hardly any prominent buttons on the LaptopBar; the touch panel consists only of a multifunction button and a slider that lights up when powered on. This is in line with the minimalist and easy-to-use design approach that won this product the Good Design award.
Now, design and quality aside, how easy is it to set up and use this product?
Setup
Setting up the accessory for a first-time user should be easy as long as one consults the manual for the right way to do it. Since there are no clips or clamps to deal with and there is nothing that needs screwing together, you do not need to be a tech guy to fix it. But regardless, reading the manual is still highly recommended.
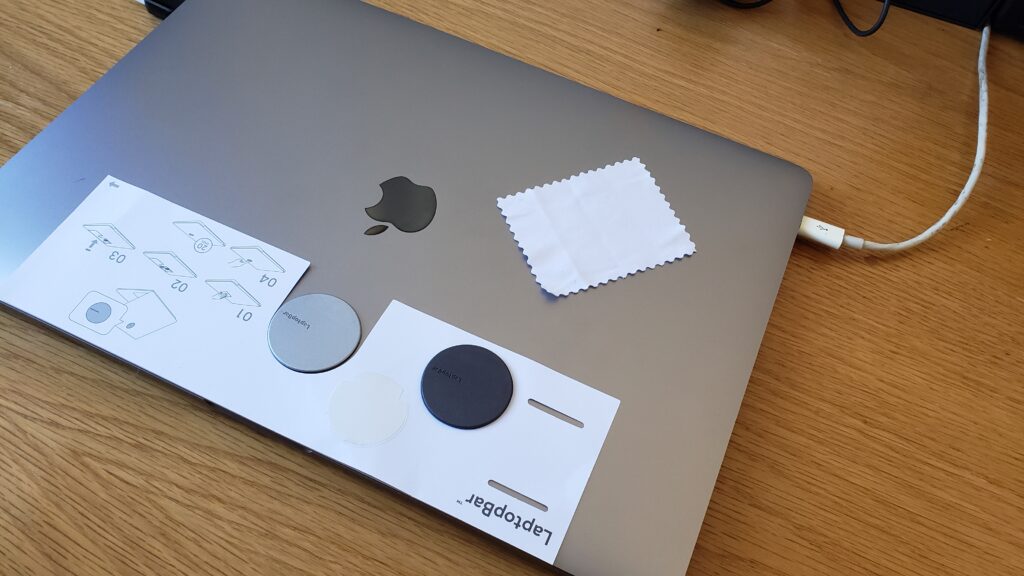
It comes with two magnetic patches, and for a start, you need to attach it to your laptop and leave it on for about twenty minutes before attaching the other parts.
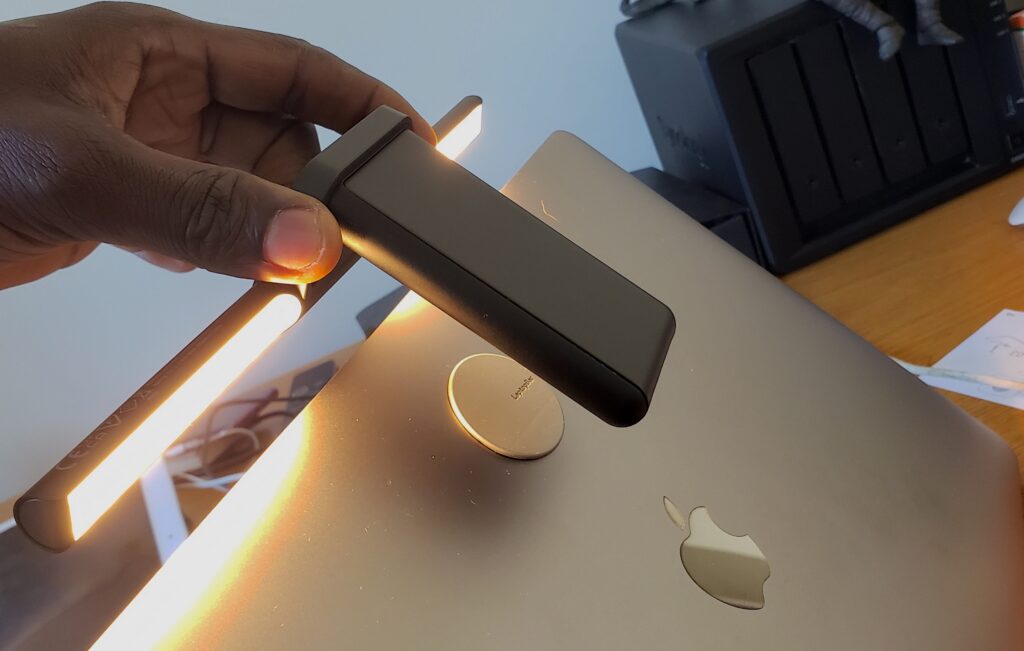
With this done, you may now simply attach the lamp head and the body magnetically with the positioning grooves facing you. With this done, the rest is as easy as connecting the assembled unit with the magnetic patch on the laptop, and it’s all done.
Operation and efficiency
Operating the LaptopBar is easy, and the touch controls make it even better. Turning the device on and off is as simple as making a wave gesture across the top where a sensor is located. The touch button to the left lets you toggle between brightness and temperature, and the touchbar to the right lets you adjust these settings as required.
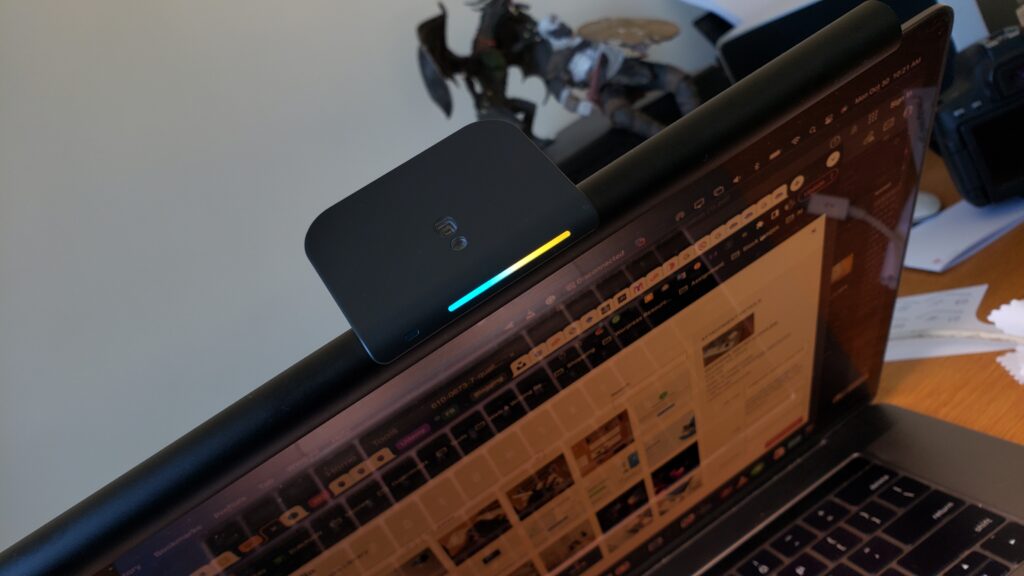
Apart from this basic function, holding the touch button for about 2 seconds until the touch button lights up allows the lamp to go into auto-dimming mode. In this mode, the brightness will automatically adjust according to the ambient lighting, just like the auto brightness feature on your laptop and smartphone. Touching this button again exits this mode.
Also, to adjust the brightness in this mode if it’s too dark, you need to long-press both the touch button and the touch bar to set the preferred brightness level. In this mode, even though your LaptobBar is in auto-dimming mode, it combines your preference and ambient lighting to give you the best lighting.
Personally, I find these to be a bit of a hassle, and it might take a bit of getting used to remembering how these advanced settings work. A simple app on the desktop should have accompanied this impressive product to further improve the user experience.
But then, how well does it improve one’s experience while at work?
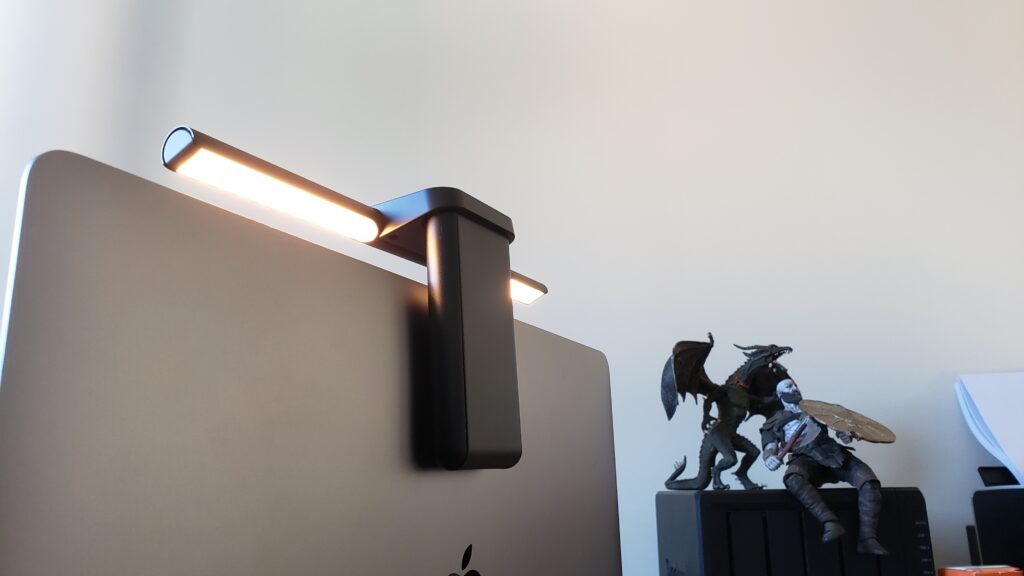
I must say that, so far, my favorite way to use the LaptopBar on my MacBook is in the extended form. A good deal of thought was put into this dual-form mechanism, and the 3D illumination it provides makes it a must-have if you are the type of person who enjoys working in the dark.
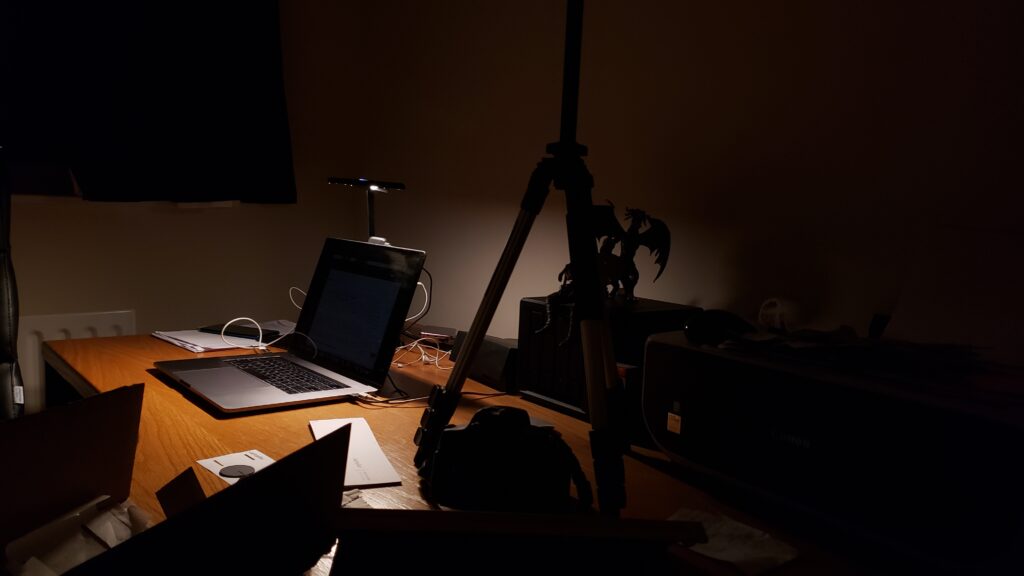
It doesn’t just give your work area a gentle glow of light that improves contrast a whole lot; it also helps in reducing the eye strain associated with this desk life.
The goal is to reduce the contrast between the screen and your workspace without changing the ambiance of your work environment, and the LaptopBar does this in the most efficient way. The brilliant design, the capability to switch between folded and extended forms, the option to adjust brightness and temperature, and the simplicity of the touch controls make it probably the most advanced light bar for the laptop on the market as we speak.
The battery life is also impressive. While BenQ claims you are able to get 3 hours of use at 50%, I was able to get almost four hours of use at a lower brightness level. I believe this is enough to get you through if your laptop is running on batteries; otherwise, plugging in the USB cable is the way to go if your laptop is plugged into the mains.
What could have been better
As mentioned earlier, the touch control is a bit of a hassle for the advanced settings if you are just getting into it, and an accompanying desktop app would have improved the user experience a bit. Also, as much as I love the magnetic attachment approach that doesn’t do any damage to your laptop with clamps or clips, having the magnetic patch at all times on the laptop might not sit well with some users; once you detach this patch, you cannot re-attach it unless you use the second one that comes with the pack.
In addition, at £119 (UK) / $139 (US), it looks a bit pricey considering there are cheaper (but much less sophisticated!) alternatives. However, considering the features and how advanced this product is, one might be able to justify the high price tag.
Verdict
To be honest, after using the product for weeks, exploring its features and all it has to offer, I’m unable to imagine working late into the night without having it on. Even during the day, with the curtains drawn, it has become a permanent addition to my work area.
Saying whether it is worth the price tag can be subjective, but from my perspective, I believe it might be worth it. BenQ LaptopBar is not a product you use for a day or two and discard; it essentially becomes a part of your life you won’t be able to do away with, as it provides long-term benefits in terms of eye care.
Its few flaws aside, the benefits, ease of use, flexibility, modern design, and aesthetic appeal are really strong points that make it worth spending on.

