+321 123 4567
info@test.com
  • Home
  • My Services
    • Web Design
    • Web Development
    • Technical Writing
  • Portfolio
  • My Thoughts
  • Free Tools
    • Photo Editor
    • Avatar Generator
    • Email Migration Tool
    • QR Code Generator
    • RSS to HTML Converter
    • Rich Text Editor
    • IP Address Geolocation
    • Base64 Image Encoder
    • NATO Translator
    • All Tools
  • Contact
Home
Mac
Disable MacBook Pro Auto Power On With Lid Open / Charger Connection

Disable MacBook Pro Auto Power On With Lid Open / Charger Connection

Wale Adekile
May 23, 2018

If you’re upgrading from a pre-2016 MacBook to a 2016 model or later, you may find it strange that the MacBook automatically powers on when you open the lid. This also occurs if the computer is turned off and the charger is connected.


macbook pro 15 2017

While this may be a feature loved by some, it’s not appreciated by everyone. I really don’t like the idea and had to disable this feature on my MacBook Pro 2017. I want to be able to plug in the charger without having to worry about the MacBook Pro automatically turning itself on. You might just want to open the lid to clean the MacBook and it’s already trying to boot up.

You can’t do this from the settings, it has to be done through the command line. To disable this feature, it’s only a single line of code in Terminal.

How to disable autoboot on lid open or adapter connection

1. Press Command (⌘) + Spacebar to launch Spotlight search. Type Terminal and launch when it appears.

2. Copy this code or type exactly as shown below:


sudo nvram AutoBoot=%00

3. Hit Enter and you will be required to enter your password:

macbook auto power on4. Type your password, hit Enter again and you’re done.

This should stop your MacBook pro from automatically turning on when the lid is open or when the charger is connected. You now have to use the power button / Touch ID button to power on the computer when needed.

Re-enable boot on lid open

If you need to re-enable this feature, you still have to do it through Terminal. You only need to use a different code.

sudo nvram AutoBoot=%03

Hit Enter and it’s back to the default behavior.

Previous Post
How to Stop Excessive Data Usage on Windows 10
Next Post
How to Get Portrait Lighting on iPhone 7 Plus & iPhone 8 Plus
Wale Adekile
Husband to the world's most beautiful woman and father to two awesome kids. A nerd, obviously; also, a technical business analyst, a web designer who preaches the gospel of WordPress, and a writer. You can check out my published books on Amazon.
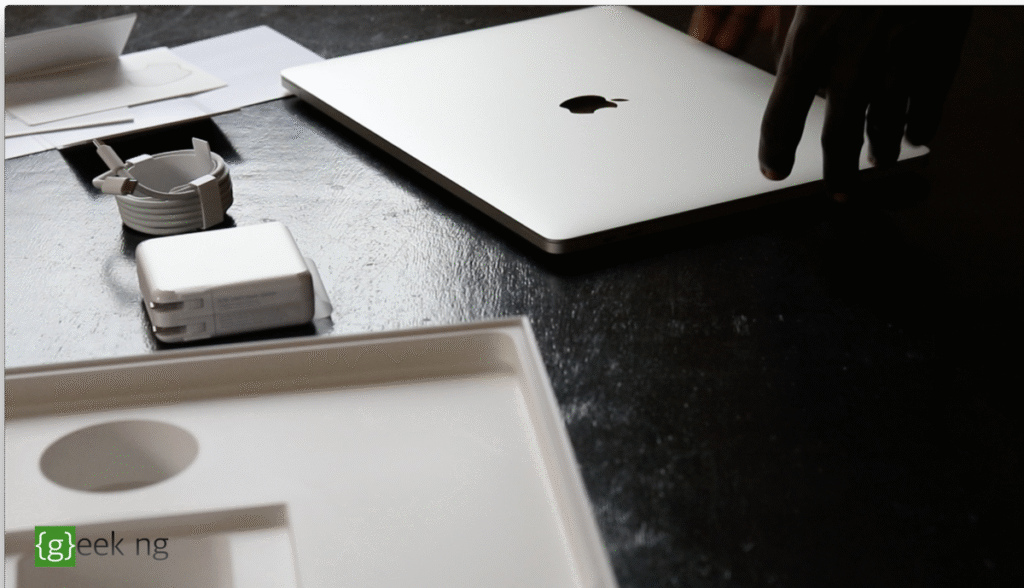
macbook pro 15-inch 2017 unboxed
MacReview

MacBook Pro 15″ (Mid-2017) With Touch Bar: Unboxing & First Impressions

8 years ago
adobe stock
GeneralMacWindows

Fix: Updates Have Been Suppressed By The Administrator [Adobe Products]

8 years ago

Recent Articles

wahl rapic clip hair clipper
Wahl Rapid Clip Hair Clipper Review: DIY Made Easy
BenQ LaptopBar Review: Luxury or Necessity?
yunmai easepro unboxed
Yunmai EasePro Massage Gun Review
g20
Teendow G20 Robot Vacuum and Mop Review
bathroom
Dear Men, Spraying All Over the Toilet Seat is Disgusting and Irresponsible
winx mediatrans
How to Transfer Photos from iPhone to Computer Without iTunes
google workspace
How to Migrate Emails From Google Workspace/G Suite to cPanel
synology diskstation ds920+
Synology DiskStation DS920+ Review
playstation 4
Why I haven’t Upgraded to the PlayStation 5 Yet
pain
Started Watching Anime as an Adult? You’re Not Alone

All contents on this blog are copyright protected and cannot be reproduced on other websites without permission.

Copyright © 2022 – NerdieDad | Home | Contact | About | Privacy Policy